A practical guide for a clean, reliable install
Electric underfloor heating mats are one of the simplest ways to add comfortable, even heat under tiles, stone or engineered floors. The mats come pre-spaced, which removes most of the guesswork. What matters is preparation, layout, testing and doing the electrical side properly.
Below is a clear, start-to-finish walkthrough.
What you’ll need
-
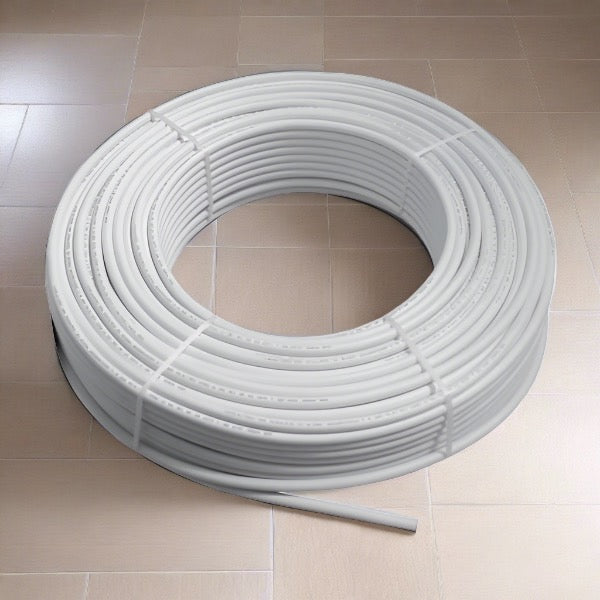
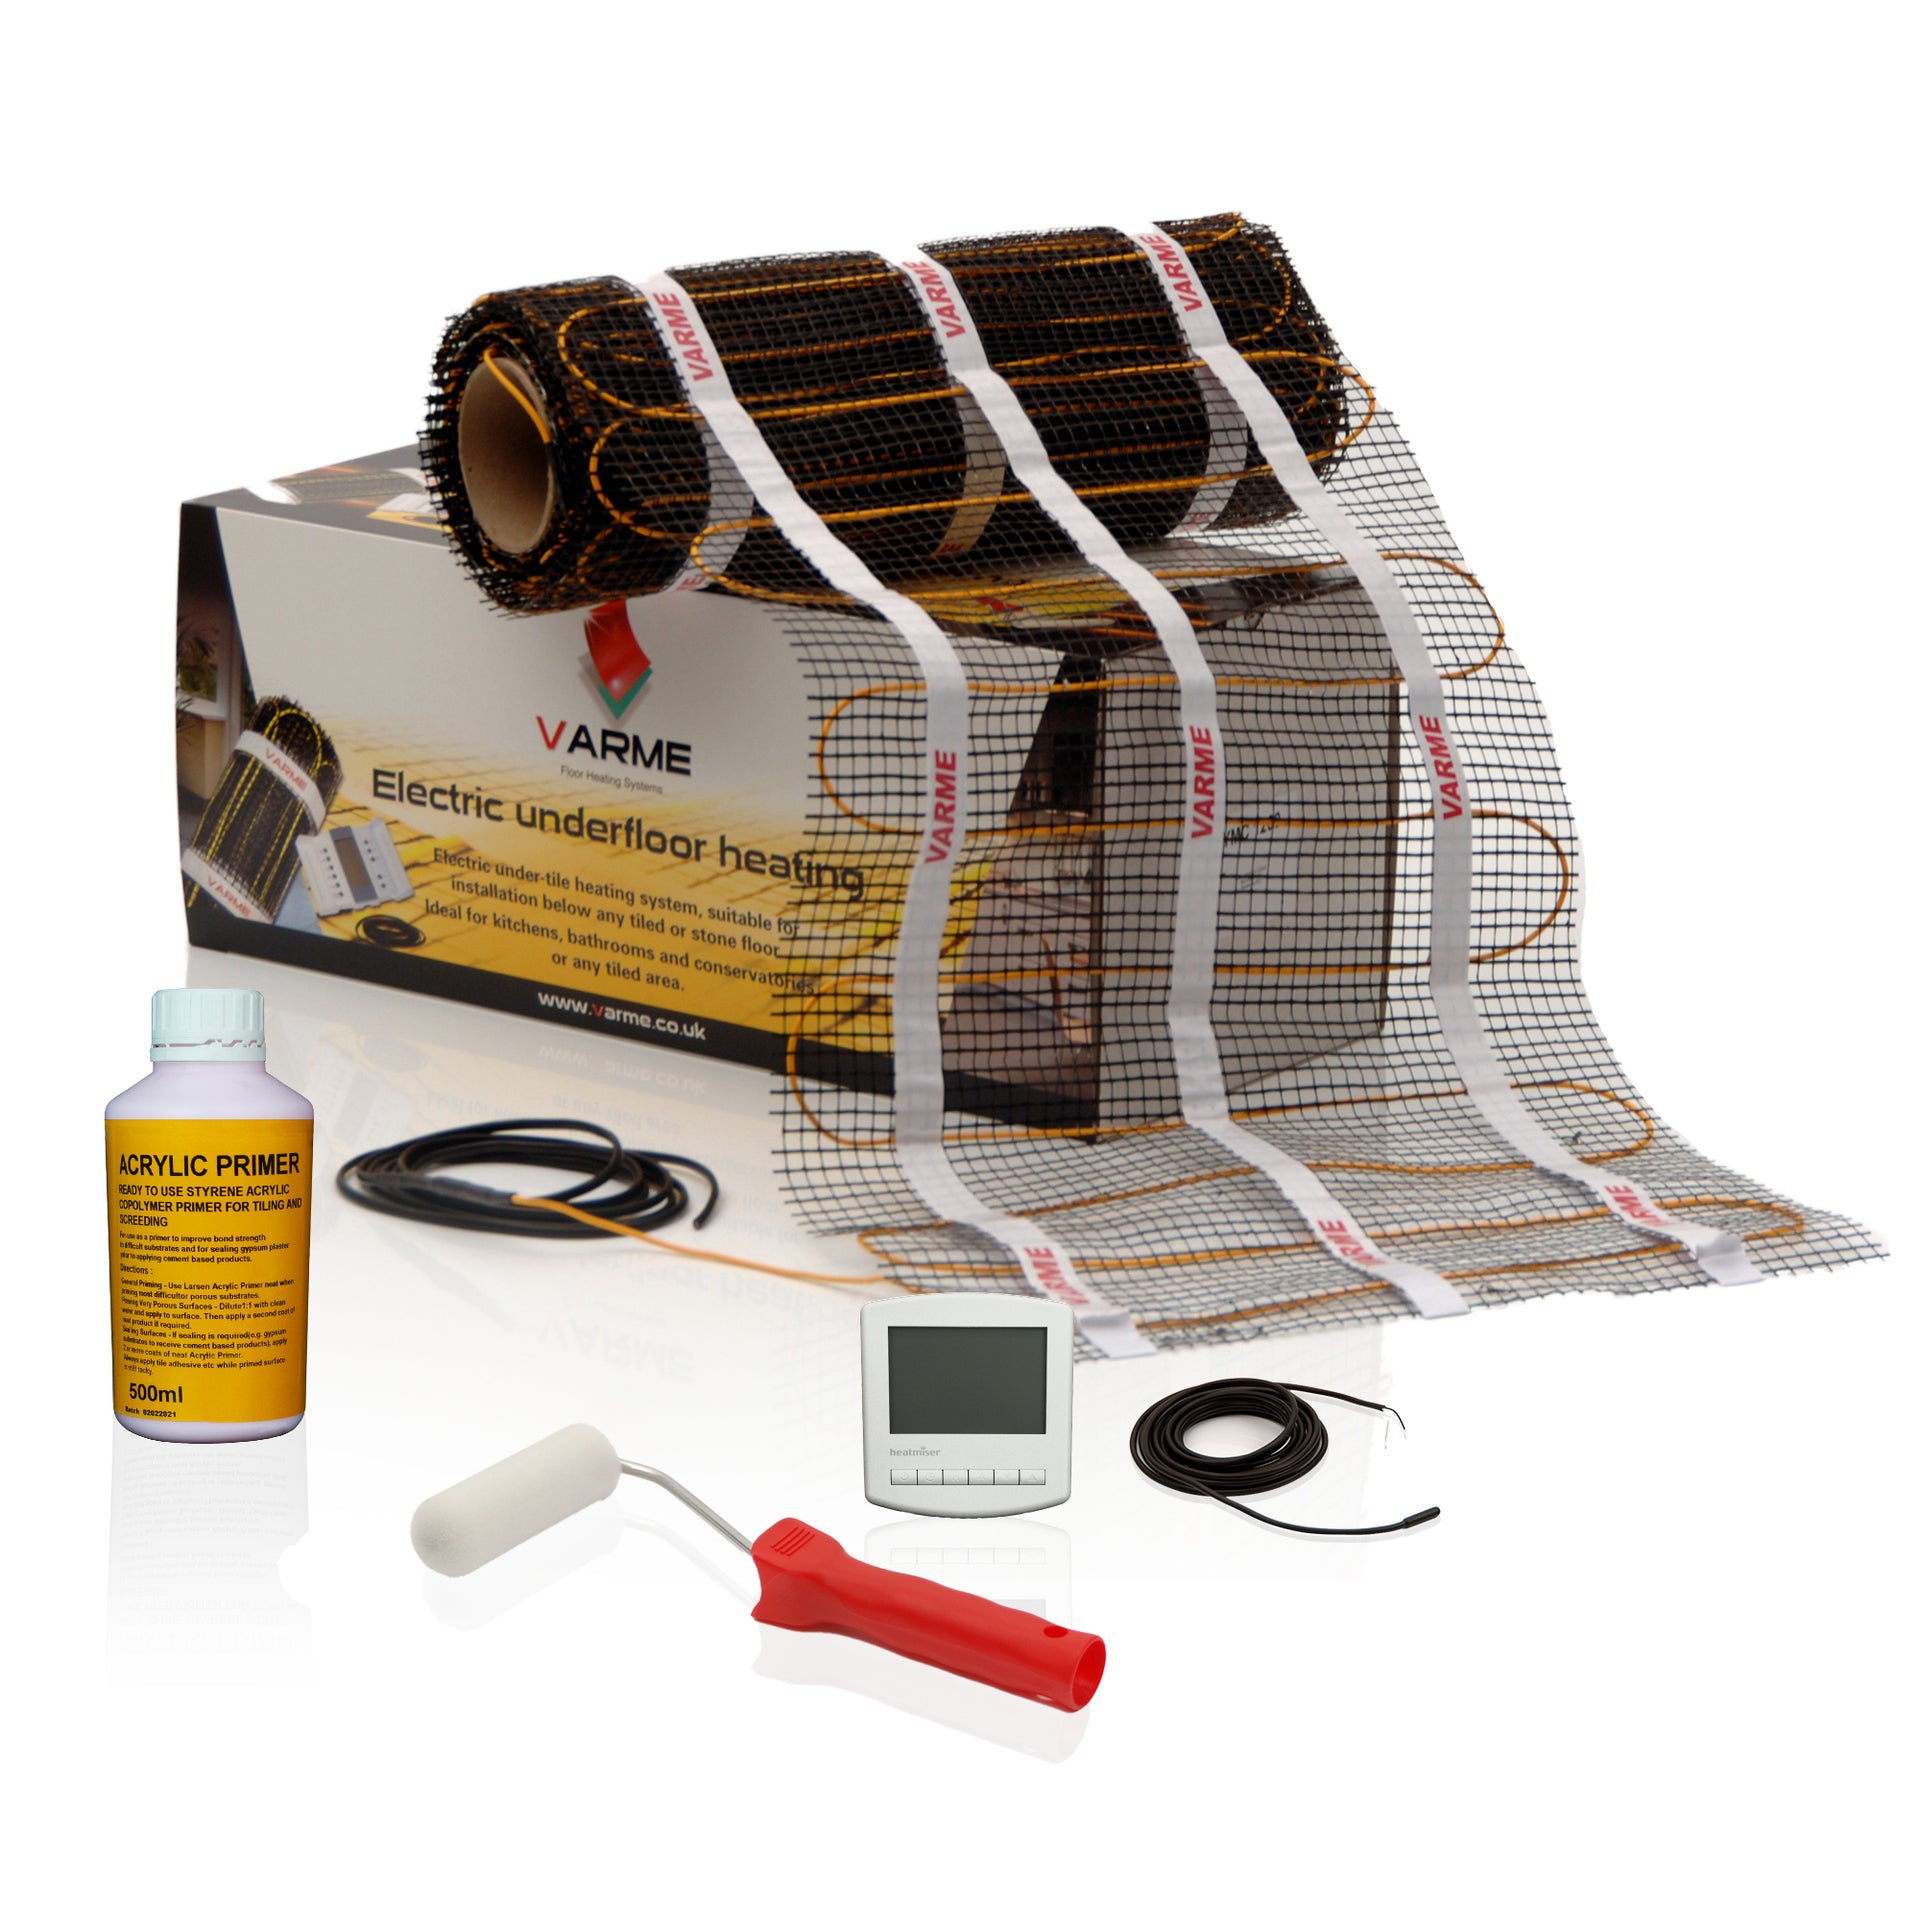
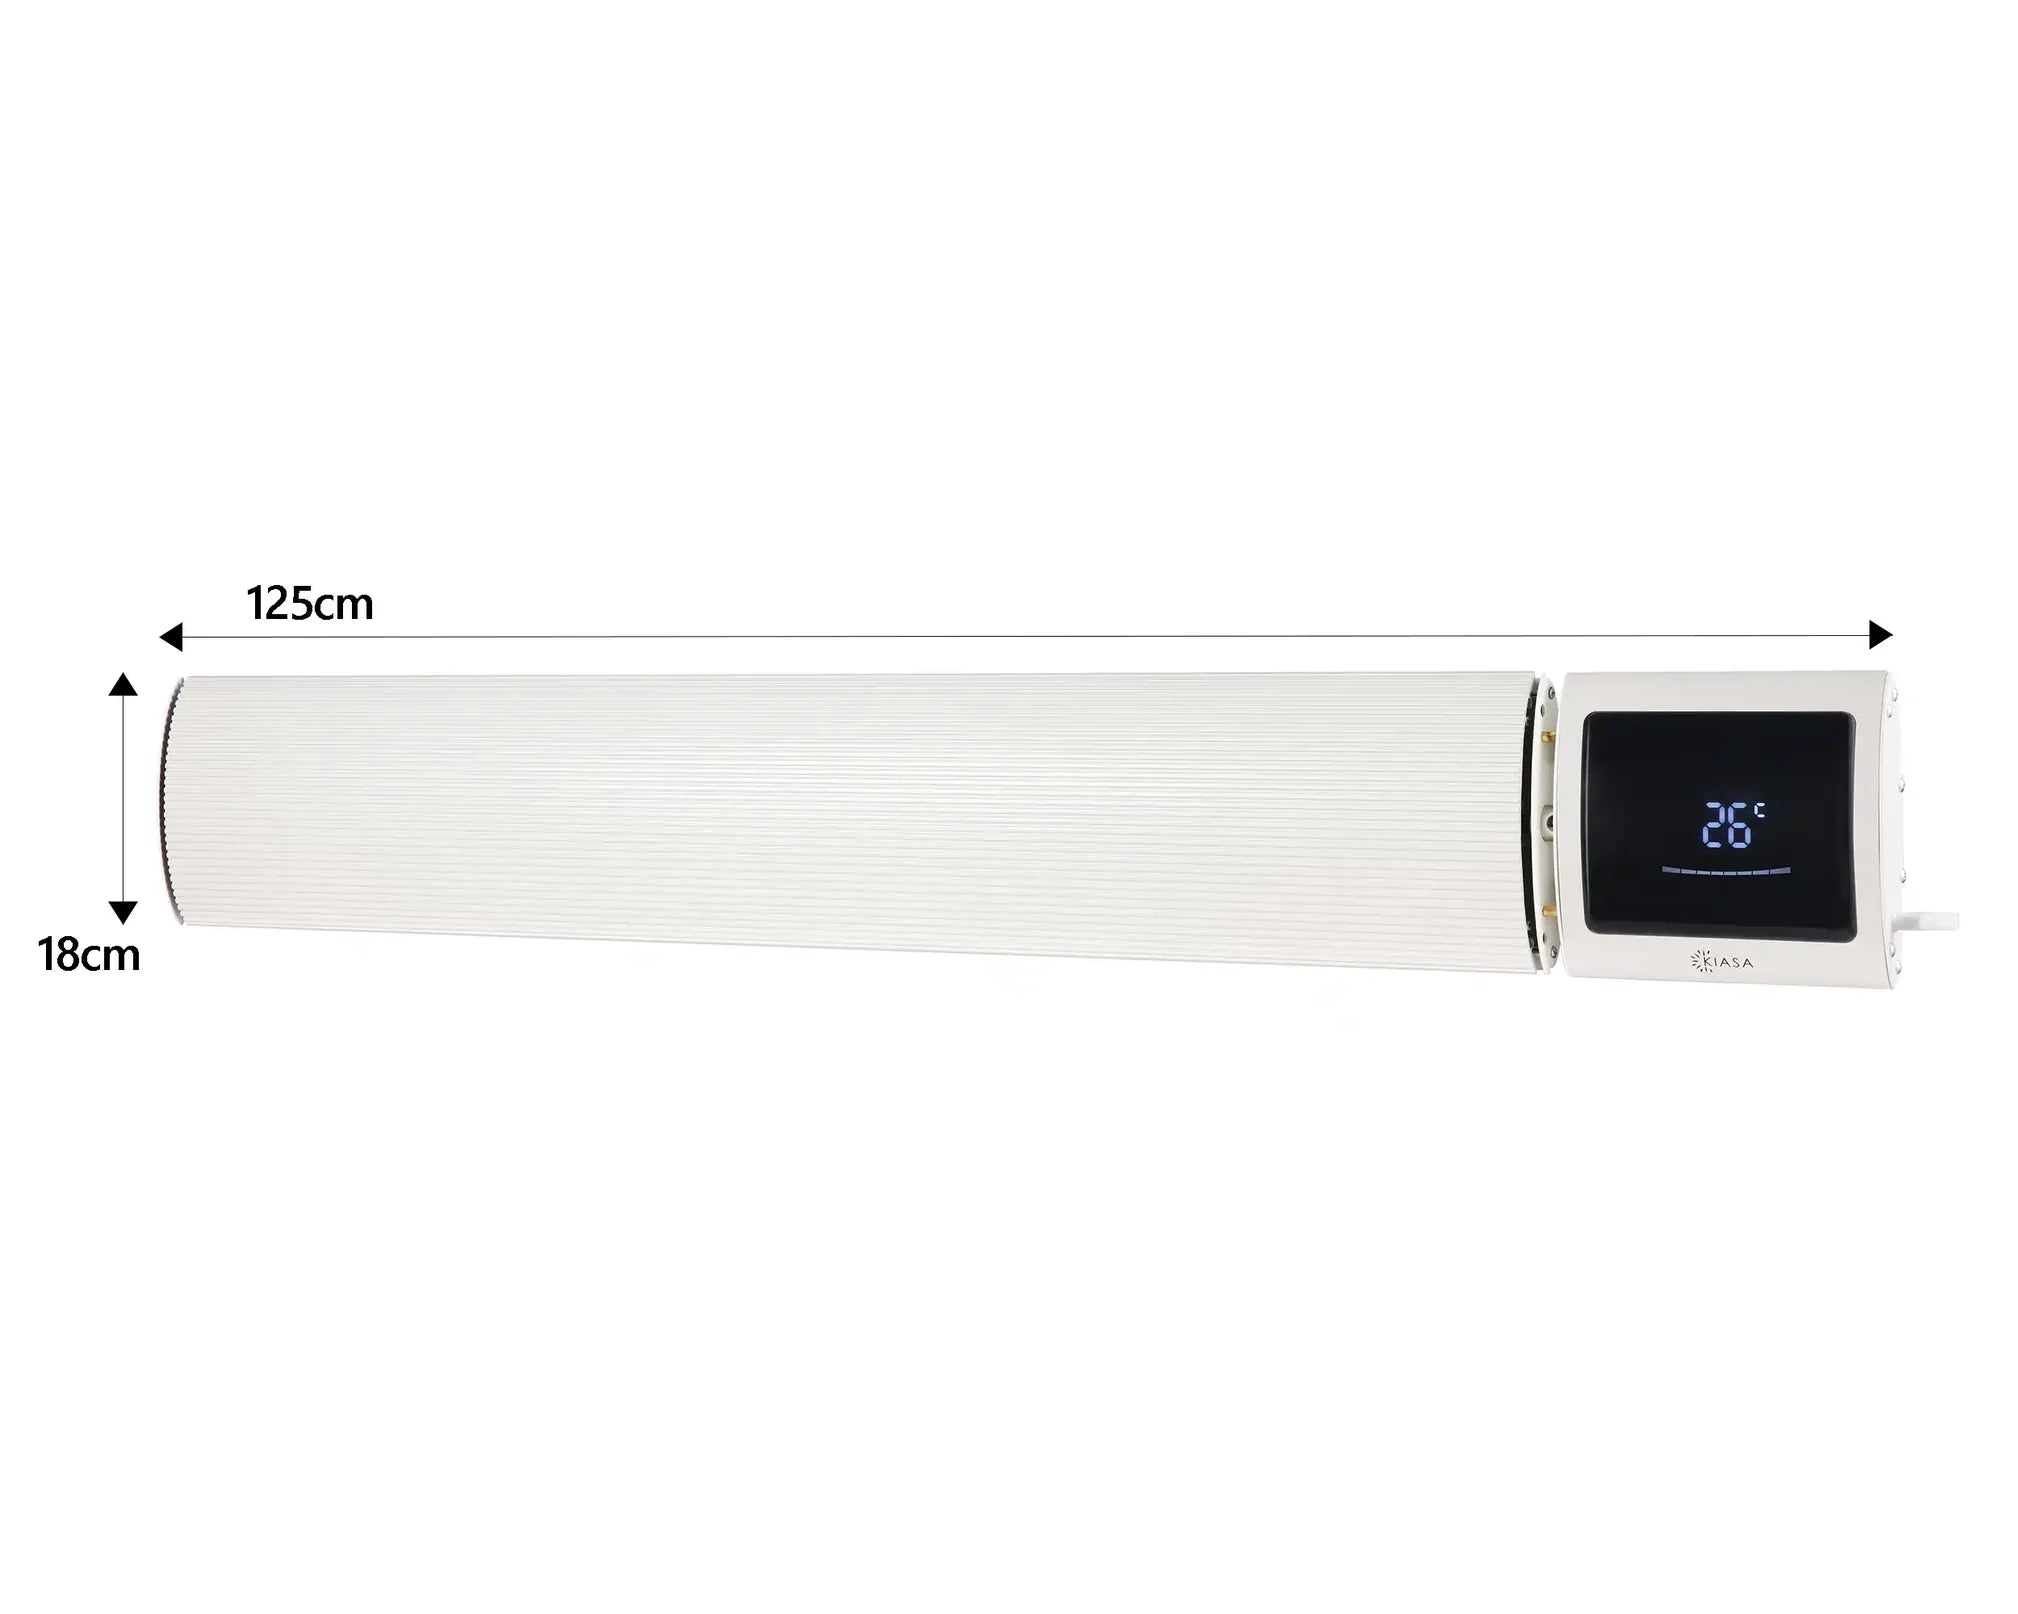
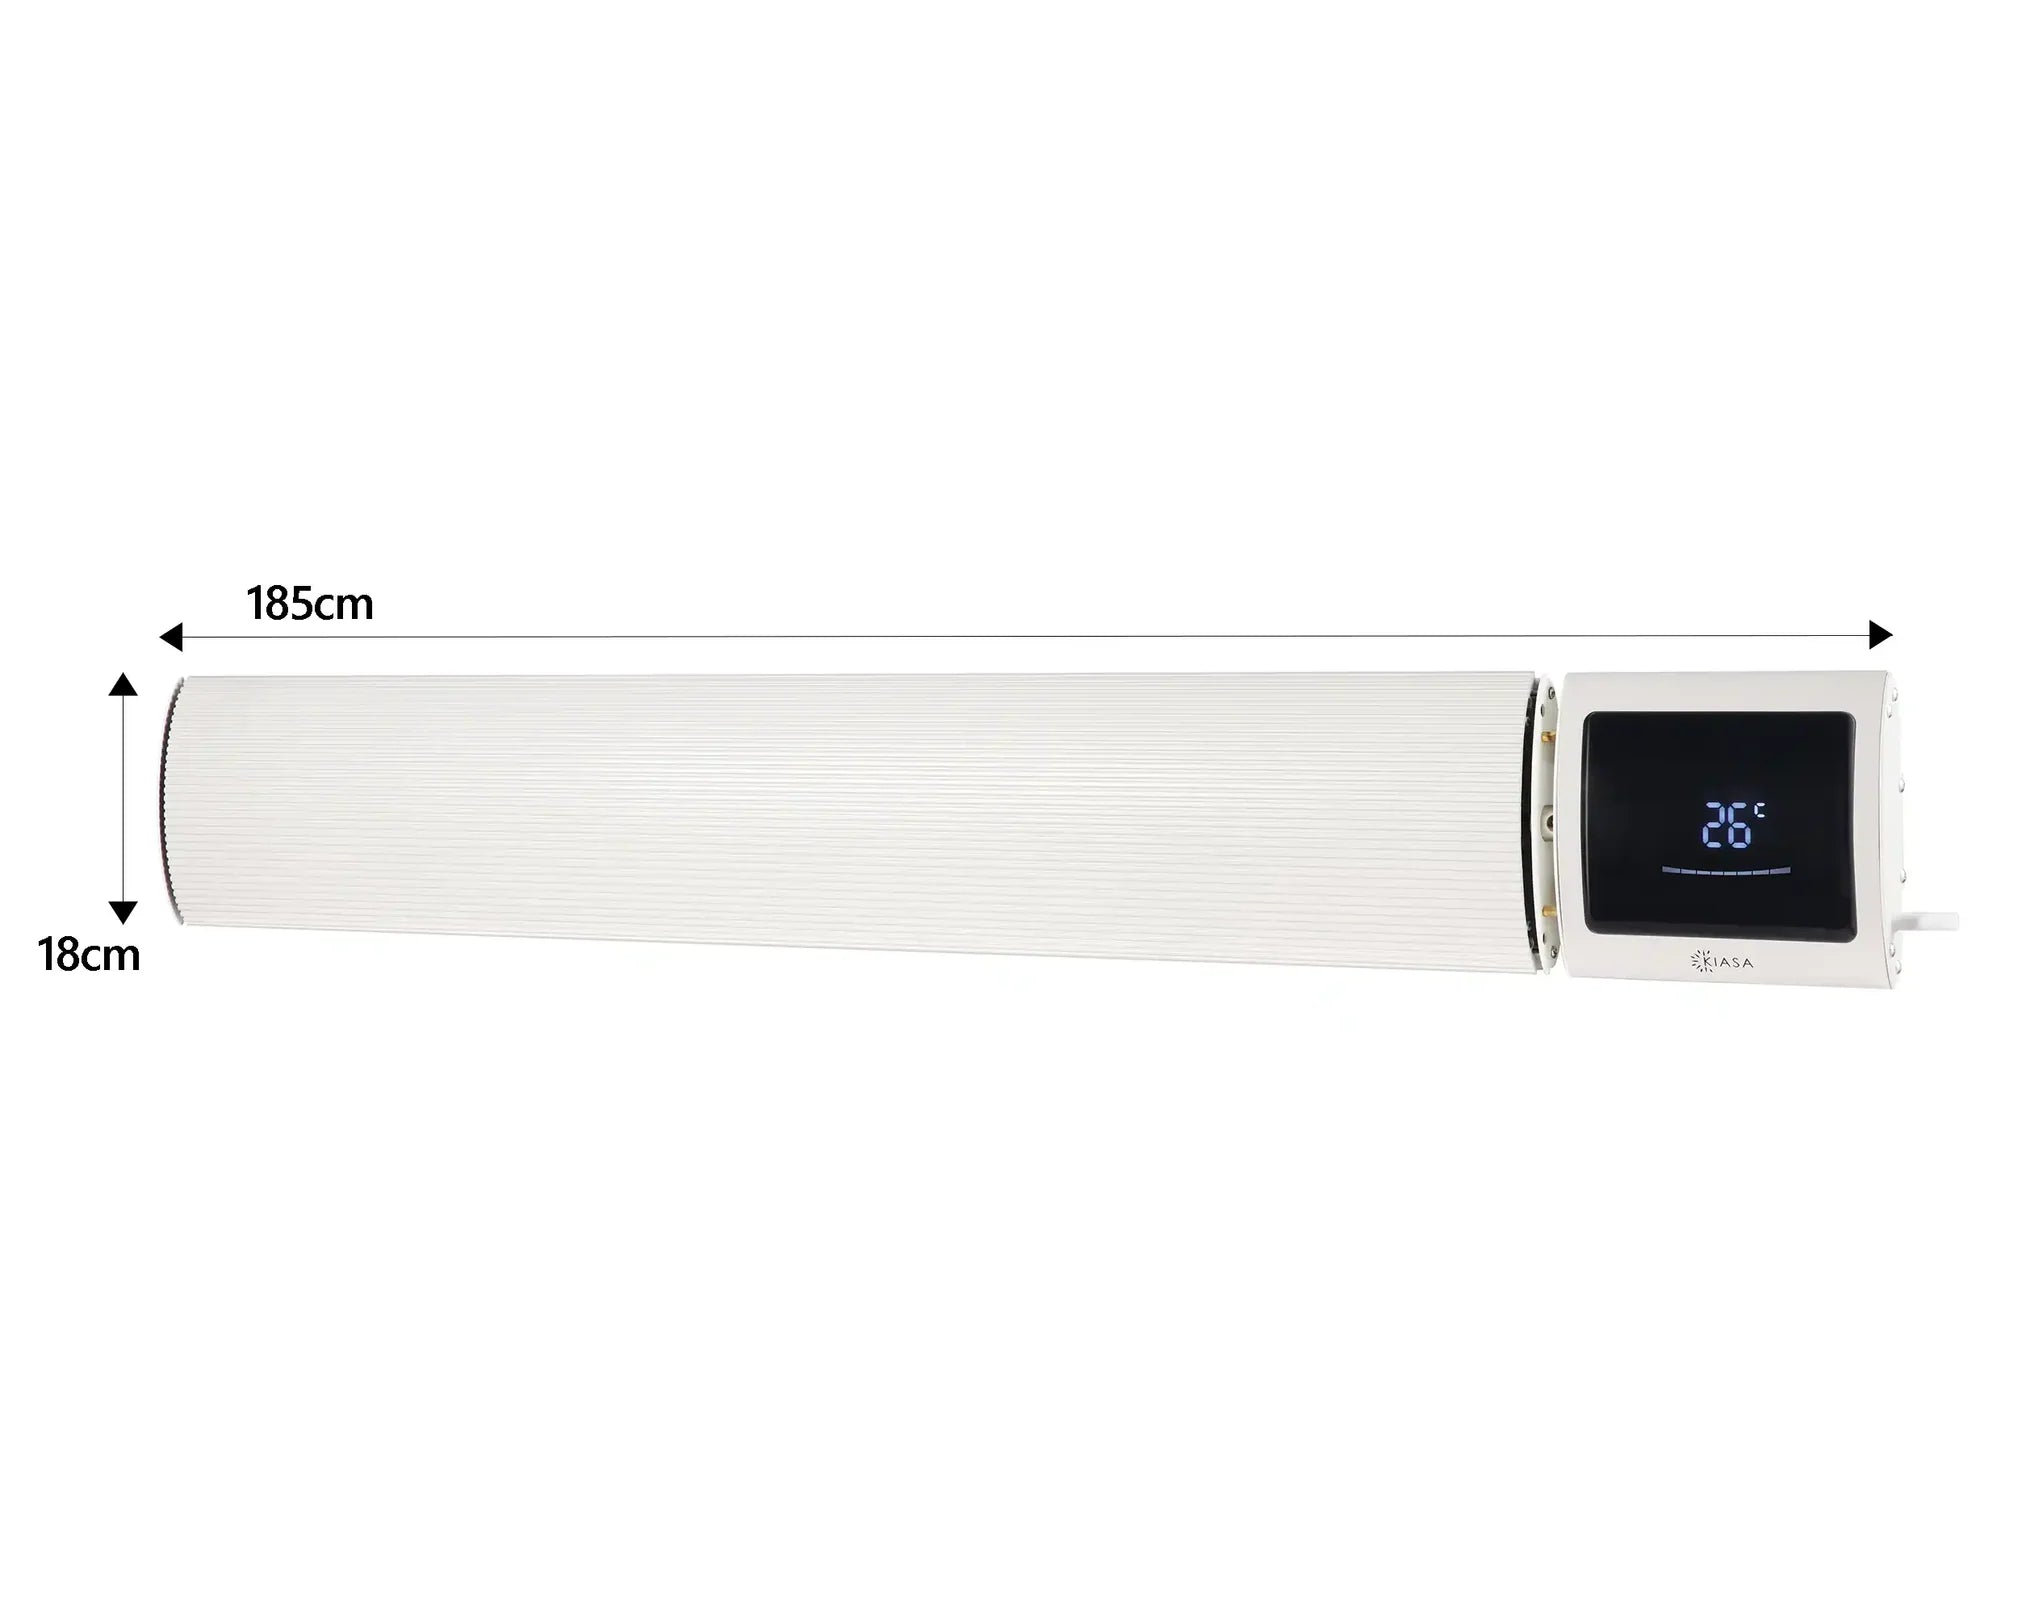
Electric underfloor heating mats (correct size and output for the room)
-
Floor insulation boards (strongly recommended)
-
Flexible tile adhesive and grout
-
Digital multimeter
-
Floor temperature sensor (supplied with the thermostat)
-
Thermostat and back box
-
Craft knife, tape, straight edge
Step 1: Prepare the subfloor
The floor must be solid, flat, clean and dry. Any movement will cause problems later.
If you’re fitting onto concrete or timber, install insulation boards first. This is not optional if you want fast warm-up times and sensible running costs. Fix boards using adhesive and mechanical fixings where required, then tape the joints.
Step 2: Plan the layout
Dry-lay the mat before fixing anything down.
-
Keep mats clear of permanent fixtures like baths, toilets and kitchen units
-
Leave space for the thermostat location
-
Never cut the heating cable, only the mesh
-
Aim to keep the cold tail runs neat and direct back to the thermostat position
Take a photo of the layout once you’re happy. It’s useful later.

Step 3: Test the mat
Before fixing the mat, test the resistance with a multimeter and record the reading. It should match the manufacturer’s tolerance.
You’ll test again later. This step catches damage early.
Step 4: Fix the mat in place
Roll the mat out according to your plan. Use the adhesive backing or fixing tape to hold it flat. When you reach a wall, cut the mesh, turn the mat and continue.
Do not cross cables or allow them to touch.
Secure the floor probe centrally between two heating cables and run it back to the thermostat conduit.
Step 5: Second resistance test
Test the mat again once it’s fixed down. Same reading as before means everything is still intact.
Step 6: Cover the mat
Apply a flexible tile adhesive or levelling compound to fully encapsulate the heating cables. Work carefully so you don’t snag or lift them.
Allow this layer to cure fully before tiling or laying the final floor finish.
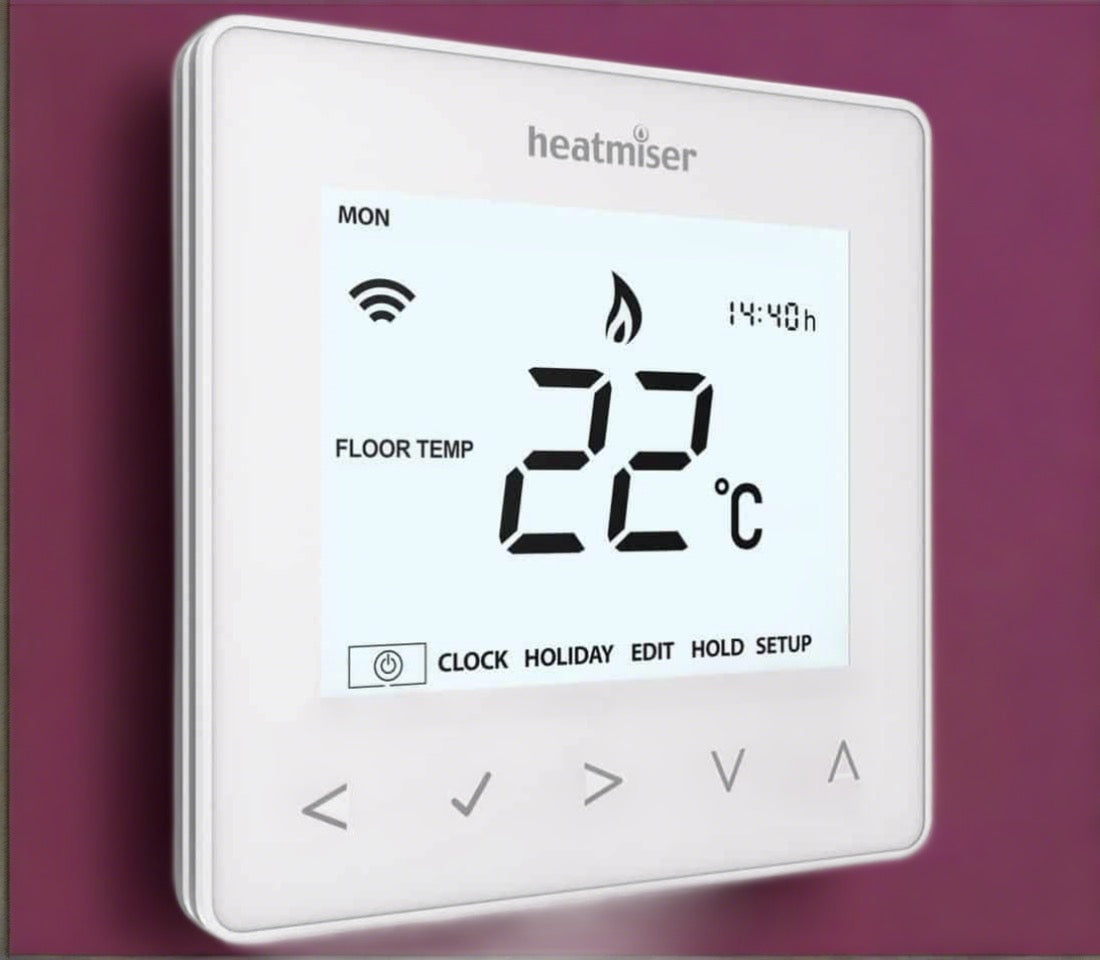
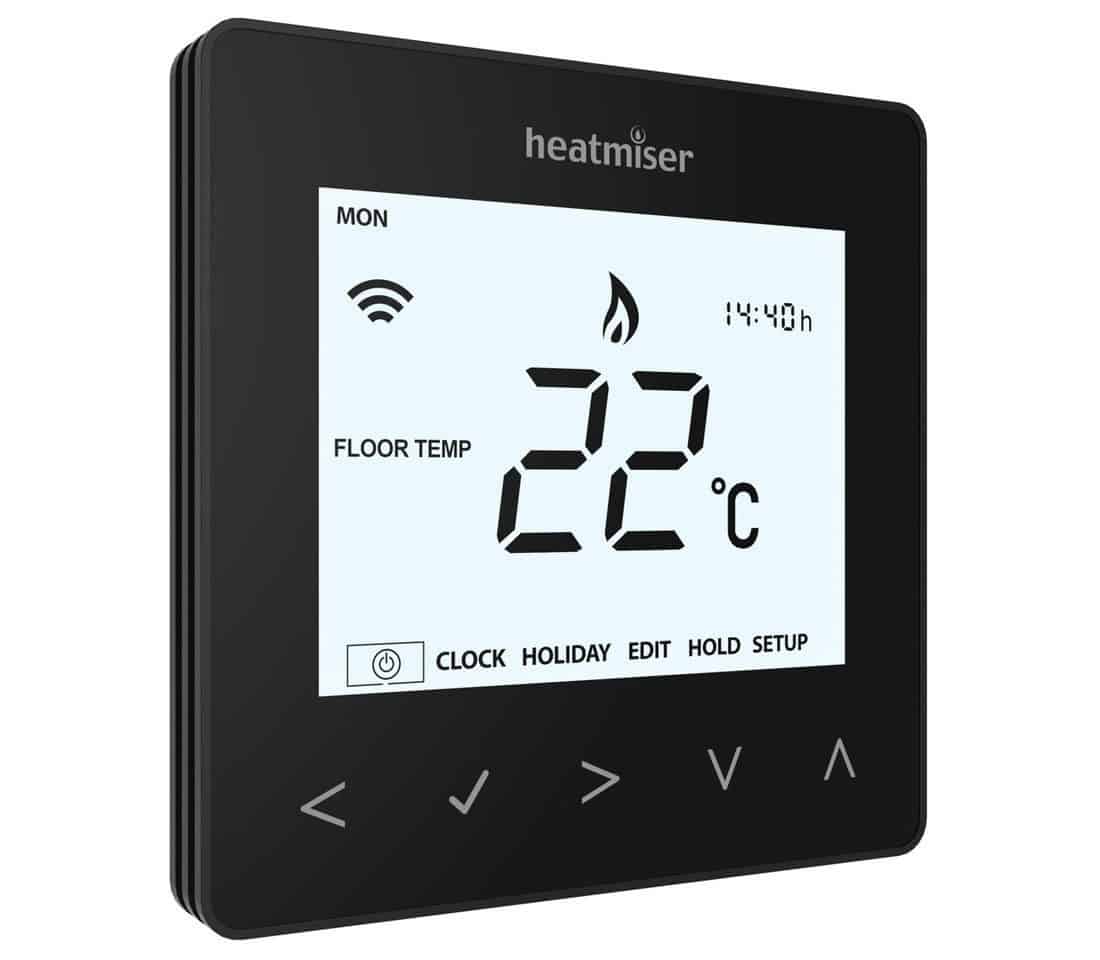
Step 7: Install the thermostat
The electrical connection must be completed by a qualified electrician in line with UK regulations.
The electrician will:
-
Connect the heating mat
-
Connect the floor probe
-
Fit and power the thermostat
-
Test and certify the installation
Never power the heating before the adhesive and grout are fully cured. This usually means waiting 7–14 days.
Step 8: Final checks and commissioning
Once cured, slowly bring the system up to temperature over a few days. This protects the floor and adhesive from thermal shock.
Set realistic temperatures. Underfloor heating is about steady comfort, not quick blasts of heat.
Common mistakes to avoid
-
Skipping insulation boards
-
Cutting the heating cable
-
Forgetting to test resistance at each stage
-
Heating the floor too early
-
Installing under fixed furniture
Final thoughts
Electric underfloor heating mats are straightforward when installed correctly. Good preparation and patience matter more than speed. Done right, you get silent, even warmth with no visible heating and minimal maintenance.
If you’re unsure about mat sizing, outputs or floor finishes, get advice before you start. It saves time, money and frustration later.