How to Install Water Underfloor Heating
A practical guide by ASTECtherm
Water underfloor heating is one of the most efficient and comfortable ways to heat a property. It provides even warmth across the floor, operates at low water temperatures, and works extremely well with modern boilers and heat pumps. When designed correctly, it removes cold spots and eliminates the need for radiators.
At ASTECtherm, we design and supply bespoke water underfloor heating systems for new builds, extensions, and retrofit projects across the UK. This guide explains the main installation methods and why pipe spacing plays such a critical role in system performance.
Design always comes first
A water underfloor heating system should never be installed without a proper design. Every property behaves differently, and performance is driven by heat loss, insulation, and floor construction.
Before any installation, the following information is required:
-
Room sizes and layouts
-
Floor build-ups and finished floor coverings
-
Insulation levels beneath and around the floor
-
Heat source boiler or heat pump
-
Heat loss per room measured in W/m²
Pipe spacing, circuit lengths, and flow temperatures are all set from the heat loss calculation. Without this, systems are often underpowered or inefficient.
Every ASTECtherm water underfloor heating system is designed specifically for the property it is being installed into.
📧 Email your plans to: hello@astectherm.com
📞 Call us on: 0333 5772 455
Water underfloor heating installation methods
Screeded systems (in-screed)
The most common installation method for new build properties.
Installation process
-
Structural slab is laid
-
Insulation boards are installed
-
Underfloor heating pipe is clipped or stapled in position
-
A sand cement or liquid screed is poured over the pipes
Typical floor build-up
-
Structural slab
-
Floor insulation (EPS or PIR)
-
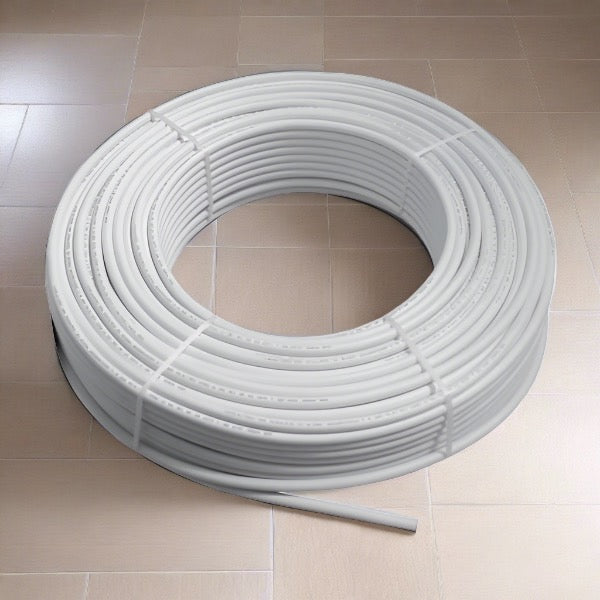
16mm underfloor heating pipe
-
50–65mm screed
Why choose a screeded system
-
Excellent heat transfer
-
Even floor temperatures
-
Ideal for heat pump systems
Things to consider
-
Slower warm-up times
-
Best suited to new builds or major renovations
Low-profile overlay systems (retrofit)
Designed for projects where floor height is limited and existing floors remain in place.
Installation process
-
Pre-routed overlay boards are laid over the existing subfloor
-
Pipe is pressed into the channels
-
Floor finish is installed directly on top or with a thin levelling compound
Typical floor build-up
-
Existing subfloor
-
Overlay board (typically 18–20mm)
-
12mm or 16mm pipe
Why choose an overlay system
-
Minimal increase in floor height
-
Faster response times
-
Ideal for retrofit and renovation projects
Things to consider
-
Lower maximum output than screeded systems
-
Accurate heat loss calculations are essential
Suspended timber floor systems
Common in older properties with joisted floors.
Installation process
-
Insulation is tightly fitted between the joists
-
Aluminium heat spreader plates are installed
-
Pipe is clipped into the plates
-
Floorboards or chipboard are fitted above
Why choose this method
-
No wet trades
-
Lightweight system
-
Faster response times than screeded floors
Things to consider
-
Performance depends heavily on insulation quality
-
Poor insulation will significantly reduce output
Pipe spacing and heating performance
Pipe spacing is one of the most important factors in water underfloor heating design. It directly affects heat output, surface temperature, and comfort.
200mm centres
Used in very well-insulated properties. Suitable for background heating. Typical output 50–65 W/m².
150mm centres
The most commonly used spacing. Suitable for most living areas. Typical output 65–85 W/m².
100mm centres
Used in higher heat loss areas such as bathrooms and large glazed spaces. Typical output 85–100+ W/m².
Closer pipe spacing allows lower flow temperatures and improves efficiency, particularly when paired with heat pumps.
Manifolds, zoning and controls
All underfloor heating circuits connect back to a central manifold, usually located in a cupboard or utility area.
Each room or zone should be independently controlled using room thermostats. Proper zoning improves comfort and reduces energy consumption.
Pressure testing and commissioning
Before the pipework is covered, the system is pressure tested and left under pressure during screeding.
Once installation is complete, the system is flushed, balanced, and brought up to temperature gradually, following the screed manufacturer’s heat-up procedure.
Floor finishes and compatibility
Water underfloor heating is compatible with most floor finishes including:
-
Tiles and stone
-
Engineered wood
-
Vinyl and LVT
-
Carpet with a low tog underlay
Always follow the flooring manufacturer’s maximum temperature limits.
Speak to ASTECtherm
If you are planning a water underfloor heating system, ASTECtherm can design and supply a fully bespoke solution tailored to your property.
To receive a quotation, please email us with:
-
Your plans
-
Insulation levels
-
Glazing size and type
📧 hello@astectherm.com
📞 0333 5772 455
We’ll review your project and advise on the most suitable system, pipe spacing, and layout to deliver long-term comfort and efficiency.
Related post
14
Dec
14
Dec

RECENT POSTS